


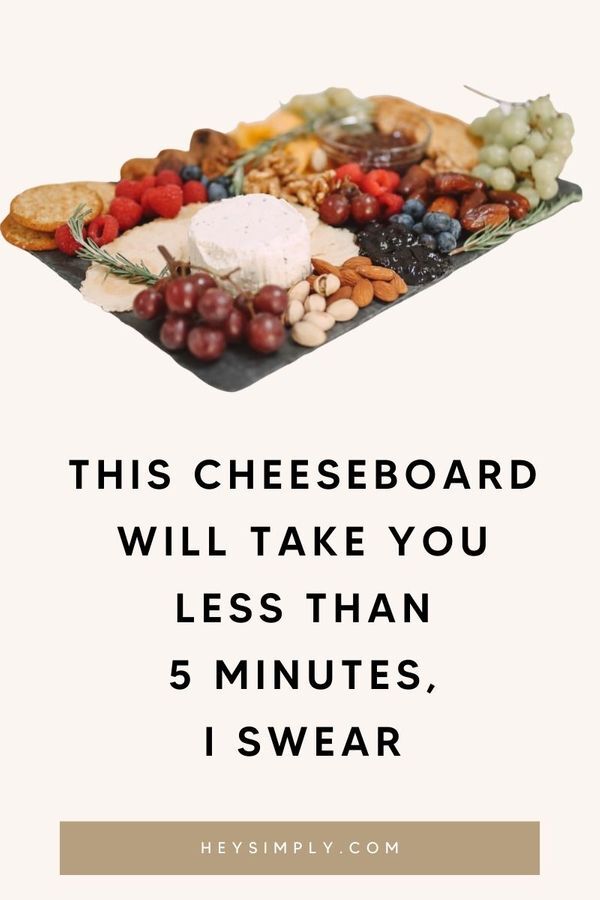
Insta-goals come in a variety of forms: #couplegoals, #travelgoals, but my personal favorite is #foodgoals and that my friend is what sparked my inspiration to create this cheese board. The concept of a cheeseboard is relatively uncomplicated, but then why do we feel so stressed when even thinking of creating one? Where to start? What is the accurate fruit to nut ratio? I’m here to break it down for you and show you that it doesn’t need to be complicated – in fact, it’s quite simple.
Related: 5 Valuable Lessons I Learned From a Registered Dietician
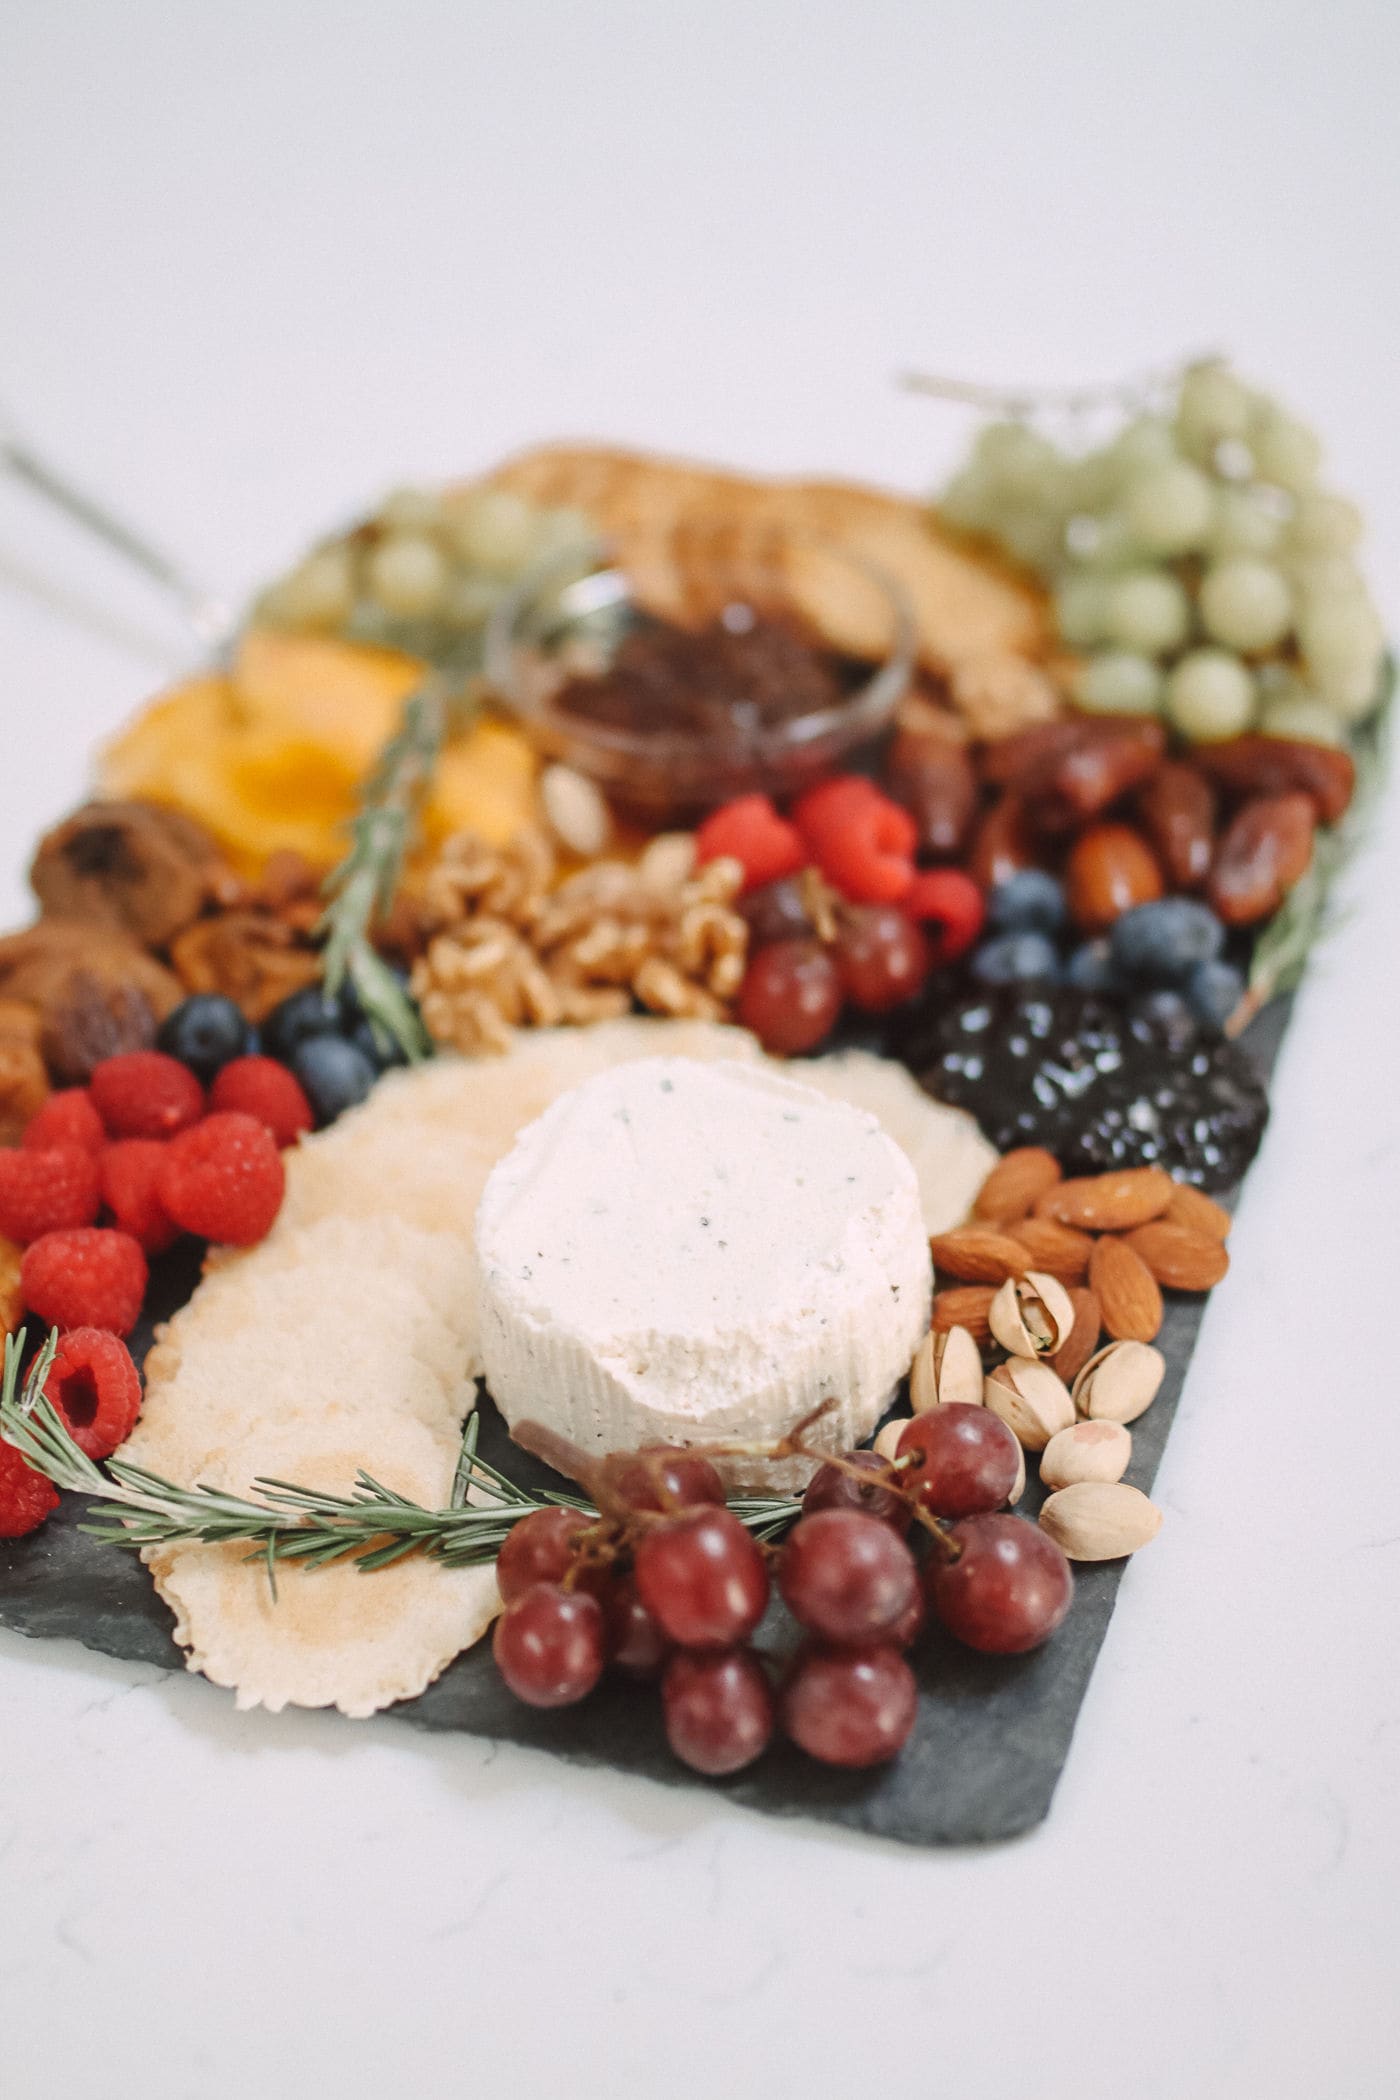
HOW TO MAKE A CHEESEBOARD
What you need for a cheeseboard
- Cheese, obviously. Some people prefer different types of cheese on their board: soft cheese, spreadable cheese, and a firm cheese. For my board, we went all-in on the Boursin Fine Herb cheese because it’s a household favorite (and also what we already had in the house).
- Fruit: We used a mixture of dried and fresh fruit for this board. The good news is that anything flows here, but my personal preferences are grapes and berries for fresh fruit and mango, dates, and fig for dried fruit.
- Nuts: All of them – no really. Throw everything on there! Almonds, pecans, cashews, walnuts, pistachios, the works. You really can’t go wrong.
- Spreads: I only used one type of cheese so I wanted to amp it up with a few different spreads. Boursin + Fig Jam is a go-to snack in our home so I knew I had that. (Sidebar: if you haven’t tried fig jam you aren’t living! I know, I know, you don’t like figs though! Yeah – me neither but this is different. My favorite brand is the Dalmatia brand.) We also used some blueberry jam we had in the fridge, because YOLO.
- Crackers: I think 2-3 versions are plenty and texture over taste for sure. Your board is full of yummy goodness so you don’t need fancy crackers. Get a grain option and a non-grain option and you should be good to go. I like Nut-Thins by Blue Diamond too!
- Herbs: Completely optional, but I like adding either thyme or rosemary to my boards as a garnish.
Assembling a cheese board
The good news is that there is no right or wrong way to do this, but since I know that it can be mentally taxing to know where to start I’ll tell you how I tackled it. The goal here is to add texture and dimension. You don’t have to worry about the placement of things because everything is delicious and it will all taste good together!
Related: 20 Trader Joes Items That Deserve a Spot in Your Cart
- I started by placing my cheese on 1/3 of the board. That means pretty much anywhere but the center. I chose the bottom left, but you can pick top right, etc.
- Add in crackers, make it a little fancy.
- Start placing larger fruit pieces like figs, dried mango, grapes, and dates. Save the small ones like berries for last.
- Fill larger gaps in the board by placing a small bowl of the jam or spread you are using. If you use more than one, you can put the second on directly onto the board.
- Surprise! You’re almost done! Take a second to appreciate how easy that was then begin to fill the holes in your board. I love to do this with nuts because they are small and malleable.
- Garnish with an herb like rosemary or thyme. Totally unnecessary, but it makes it pretty!
Would love to know if you try out a cheeseboard! Send me any pictures on Instagram at @sabrinamolu, and remember there’s no wrong way to make a cheeseboard – you got this!